SurfShark
![]()


Surfshark VPN Setup on Sabai OS Router
Before you begin, please make sure that you have a working internet connection
Log into your account at surfshark.com


Click on Manual config.

Scroll down to step 3 and pick the server you wish to use

A zip file will download.
Please extract this file to a location you can find later.
Remain on the Surfshark account page as you will return later in the setup instructions.
Please make sure you are connected to the Sabai router before attempting setup. Connect using either wire or wireless.
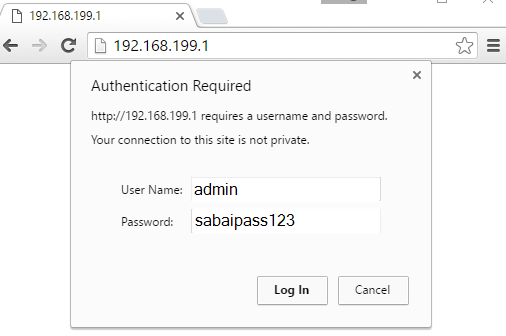
Open a new web browser and enter 192.168.199.1 in the address bar and login to your Sabai VPN Router. Default login is admin and sabaipass123.
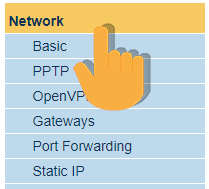
Click on the Network menu then on the OpenVPN menu

Configuring Your Sabai VPN Router
Click the Choose File button. Find the files that you extracted. Choose the VPN file you want to use. Click Open

Click show file then Edit.

Return to your Surfshark account page and get the Service Credentials from step 2

Enter these credentials in the provided Username/Password boxes. Click Done then Save.
Click Start to begin the VPN Service.

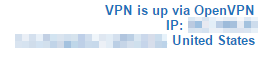
Congrats!
VPN setup is complete. Check the top right corner for location and connection status of the VPN.
Gateways
Gateways are an exclusive feature of Sabai OS, that allow you to use a single router to simultaneously connect to a VPN and a local internet connection. See our setup guide to learn how.